


This was a DOOZY!
I have been building detailed replicas of race cars that have run at the 24 Hours of LeMans for the better part of 30 years and once completing these little gems (1/24 scale) I would proudly display them on a shelving unit.
Which was white, with a white background…..
BORING! This did NOTHING for the models, they looked sad.
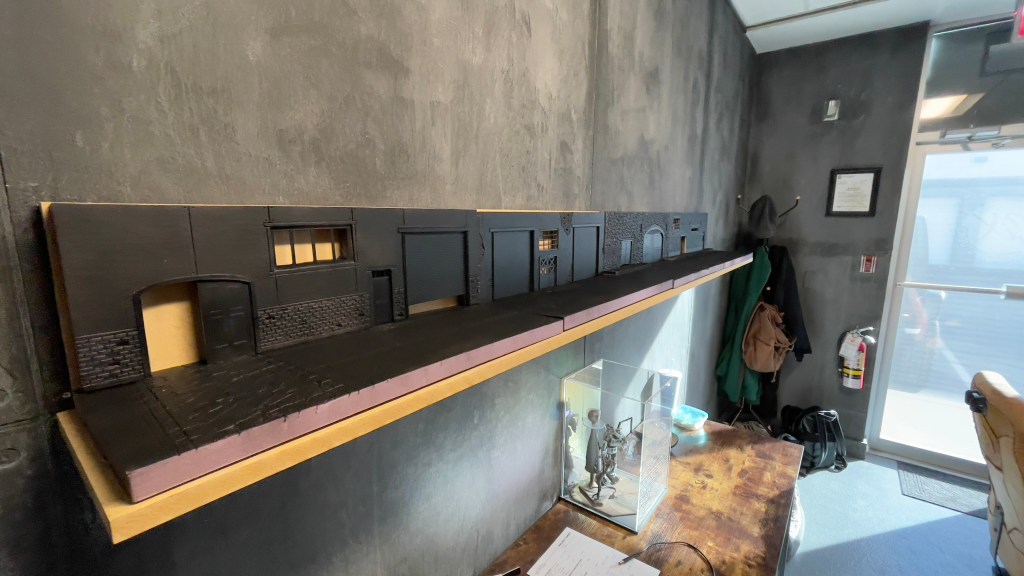
Fast forward literally decades and I finally decided to build them a proper home.
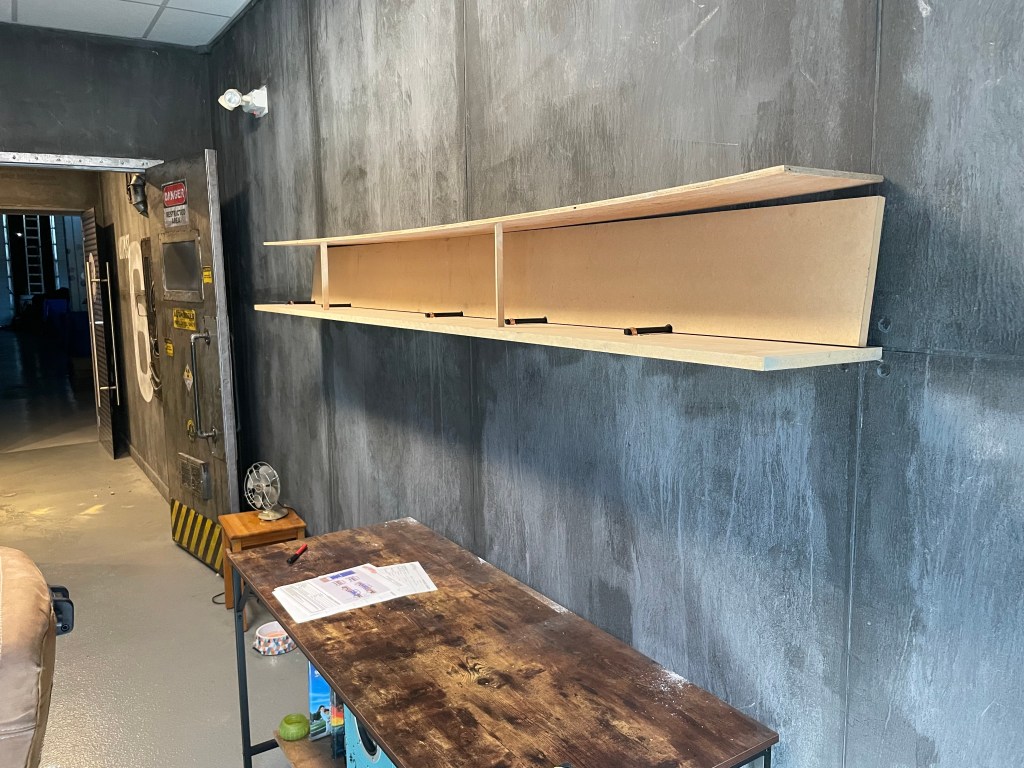
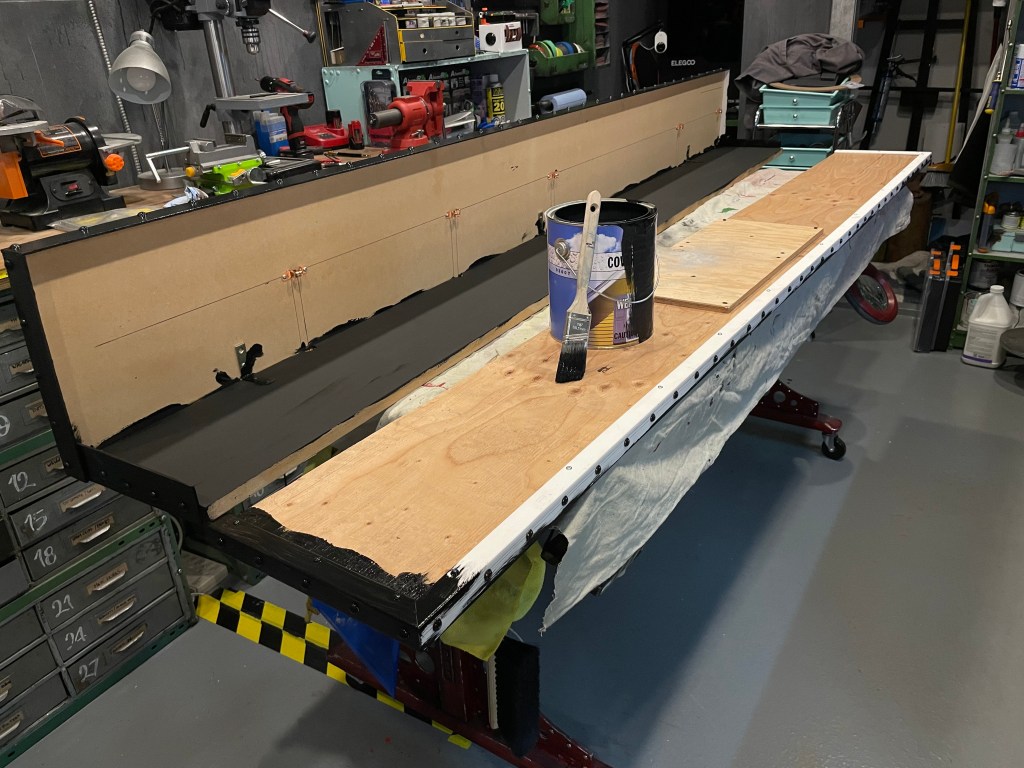
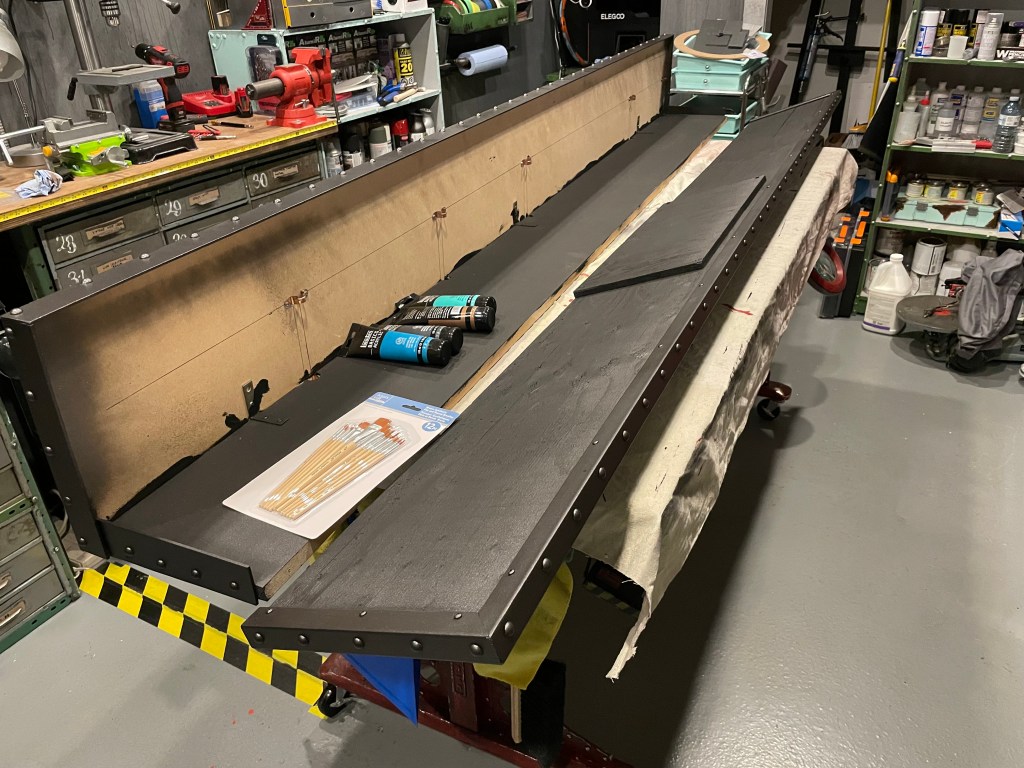
For the base of the unit I decided on MDF, simple and strong and easy to paint. Mounted on blind brackets it is easy to remove if necessary.
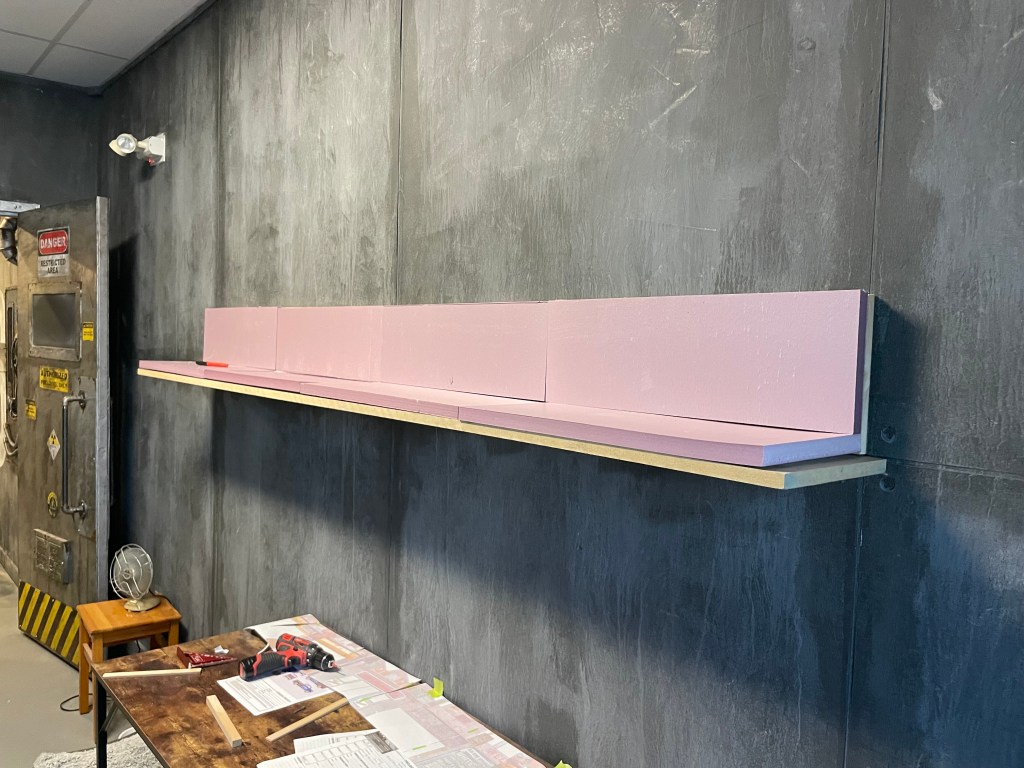
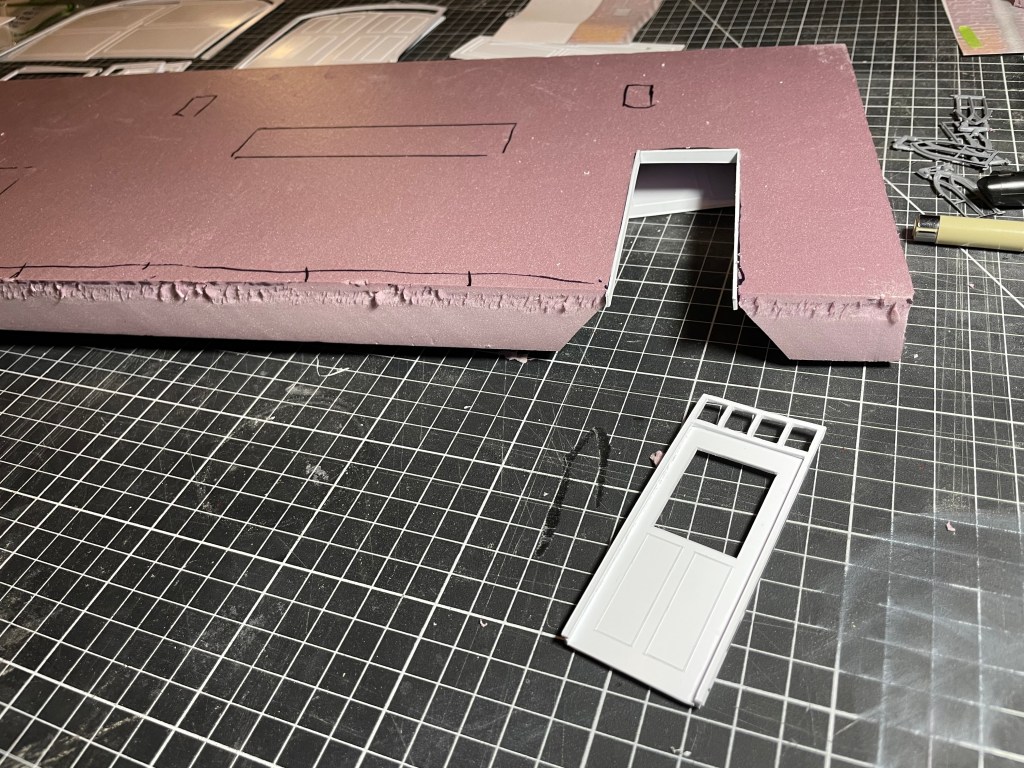
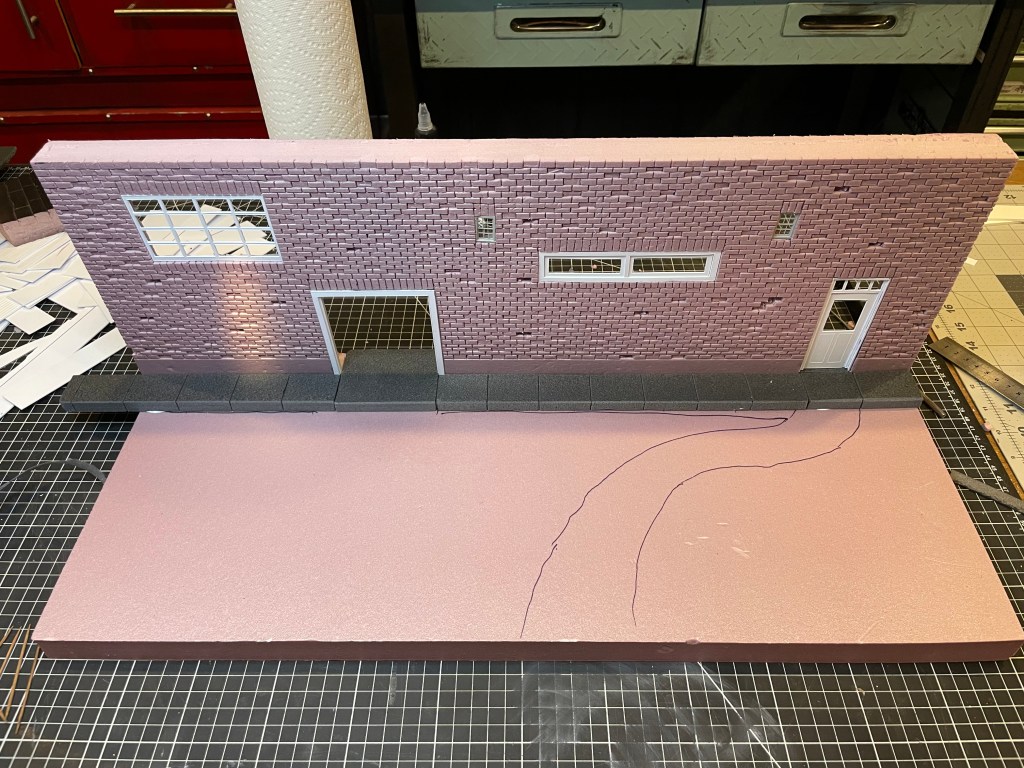
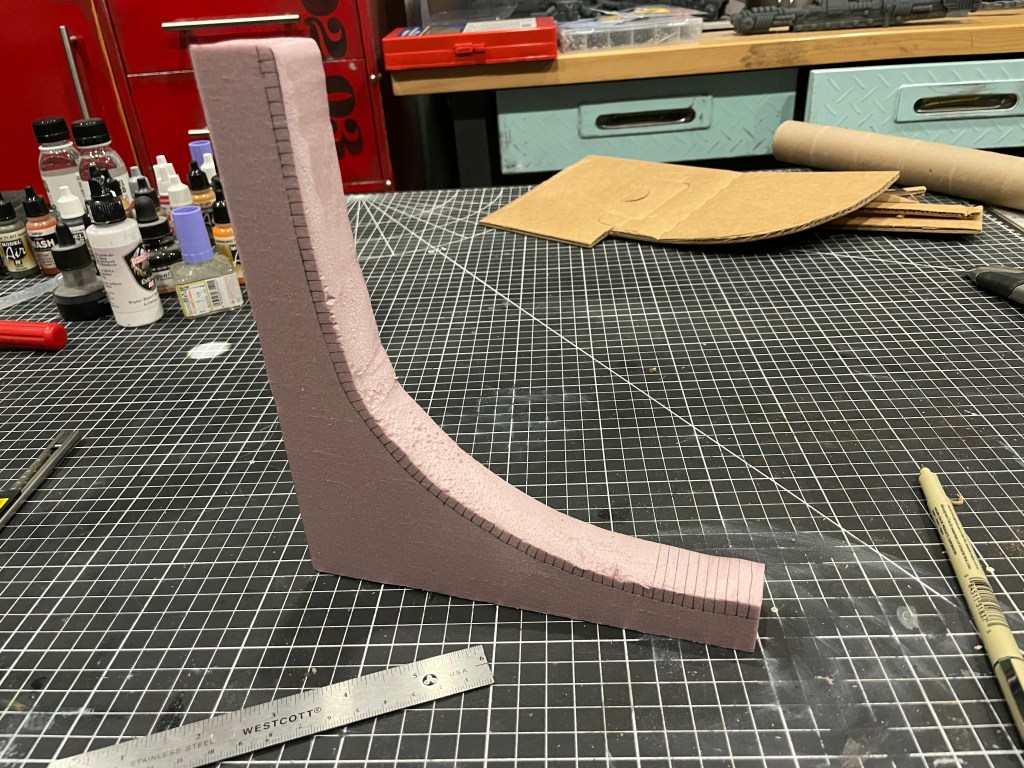
Having never done a diorama I did my usual; to YOUTUBE! An incredible amount of super information out there. So having done my research I decided to construct the bulk of it with 1” thick pink home insulation panels. Home Depot carries 2’x2’ panels and called them “Project Panels”.
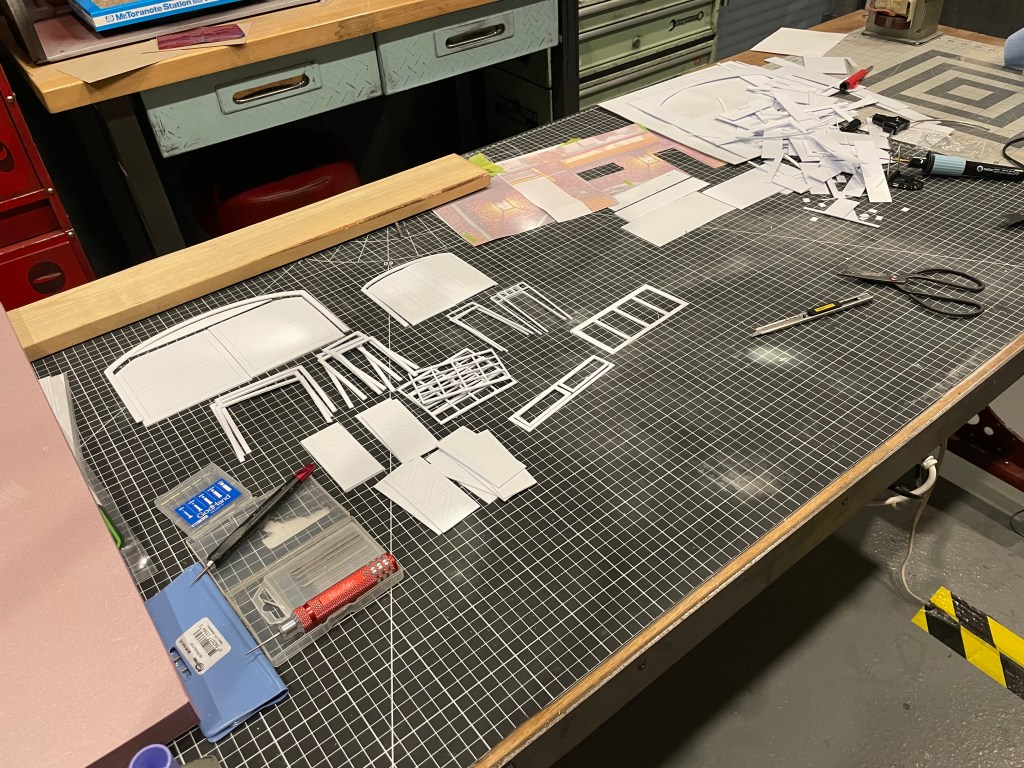
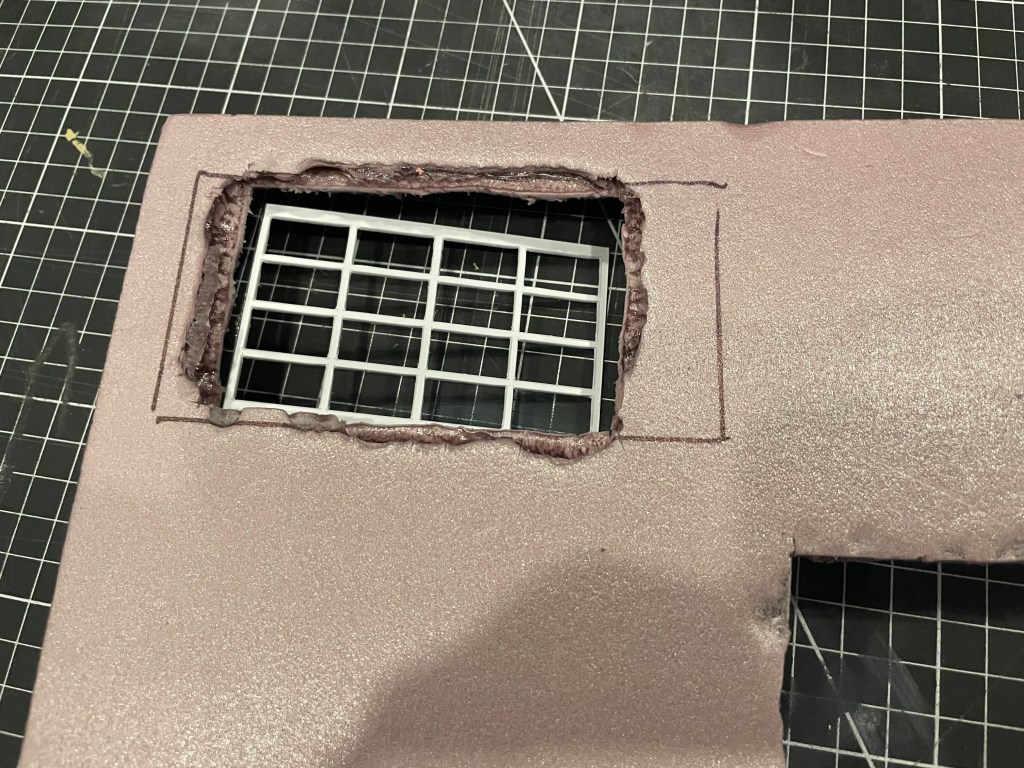
For basic details I cut out doors and windows from 1mm and 2mm styrene. 📣Public Service Announcement! 📣 Do NOT use E6000 adhesive to glue things to these foam panels! It looks like I dropped sulphuric acid on my first one! So that panel needed replacing 😂
The layout complete and styrene in place, it’s time for the real game to begin…
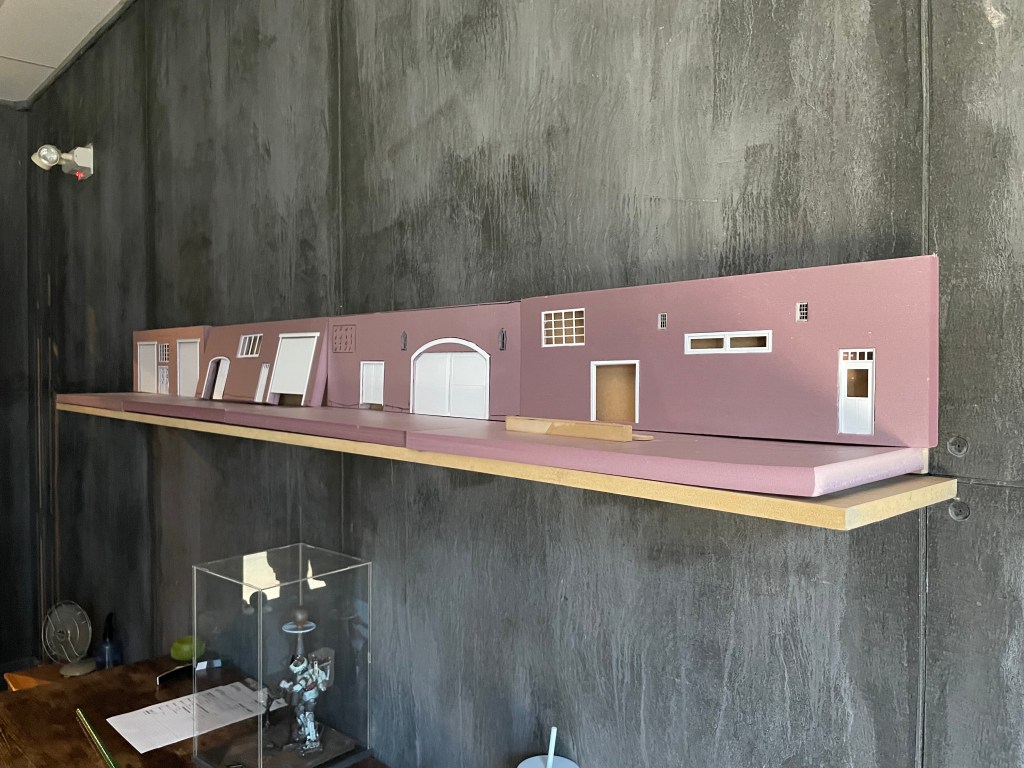
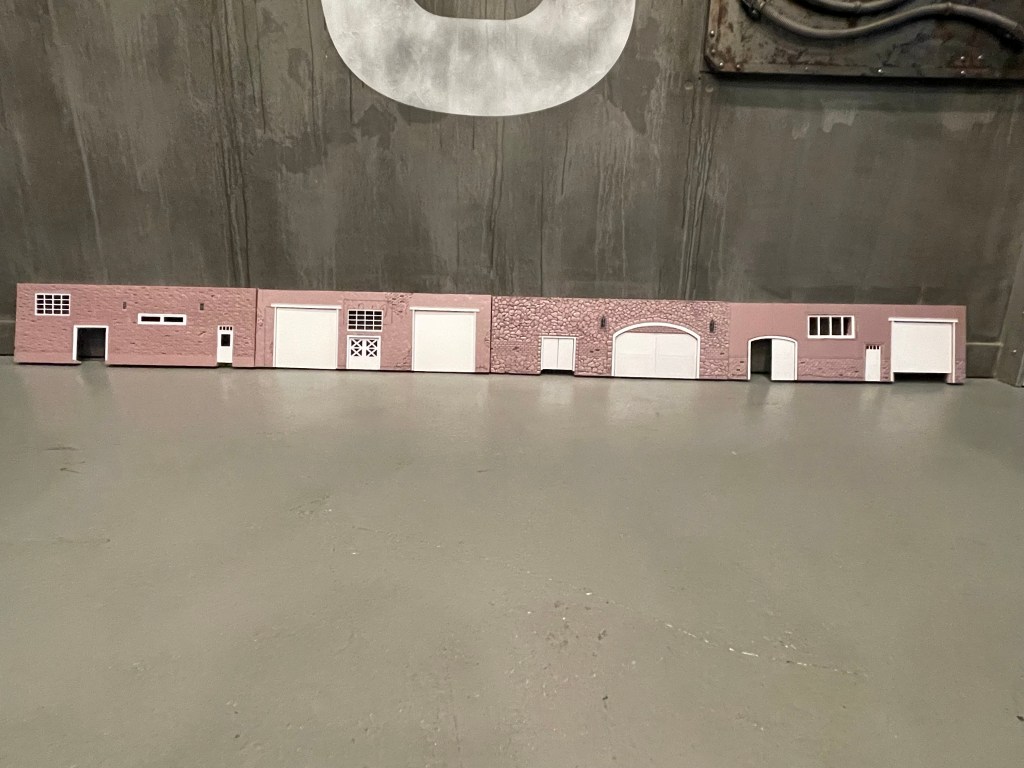
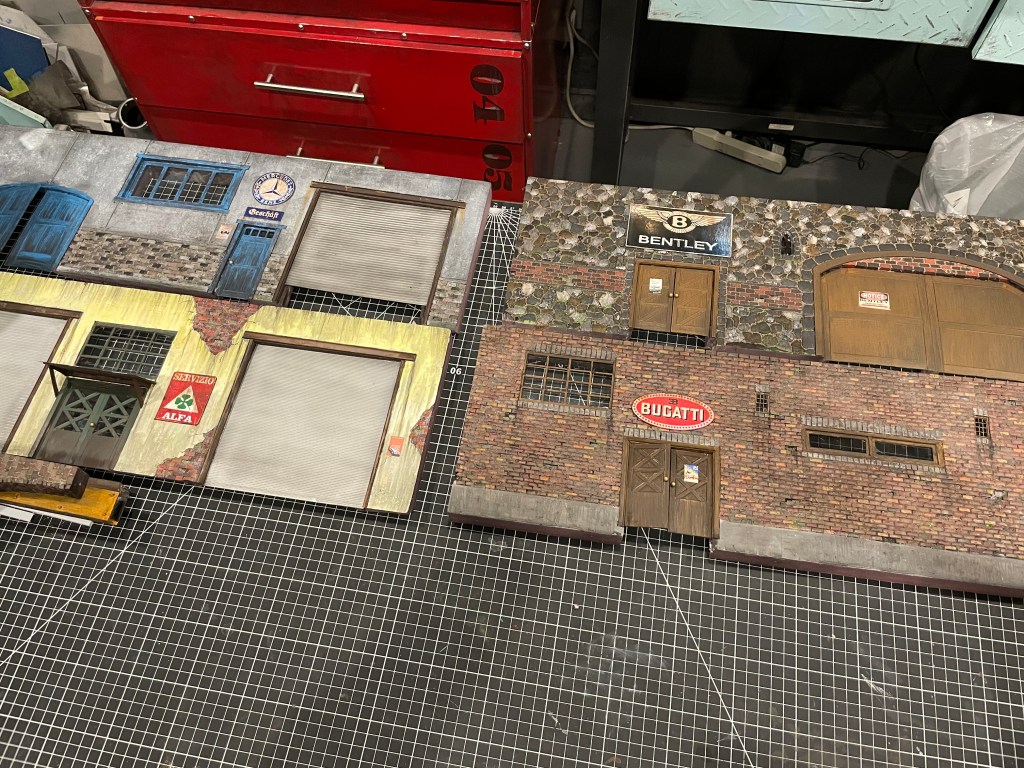
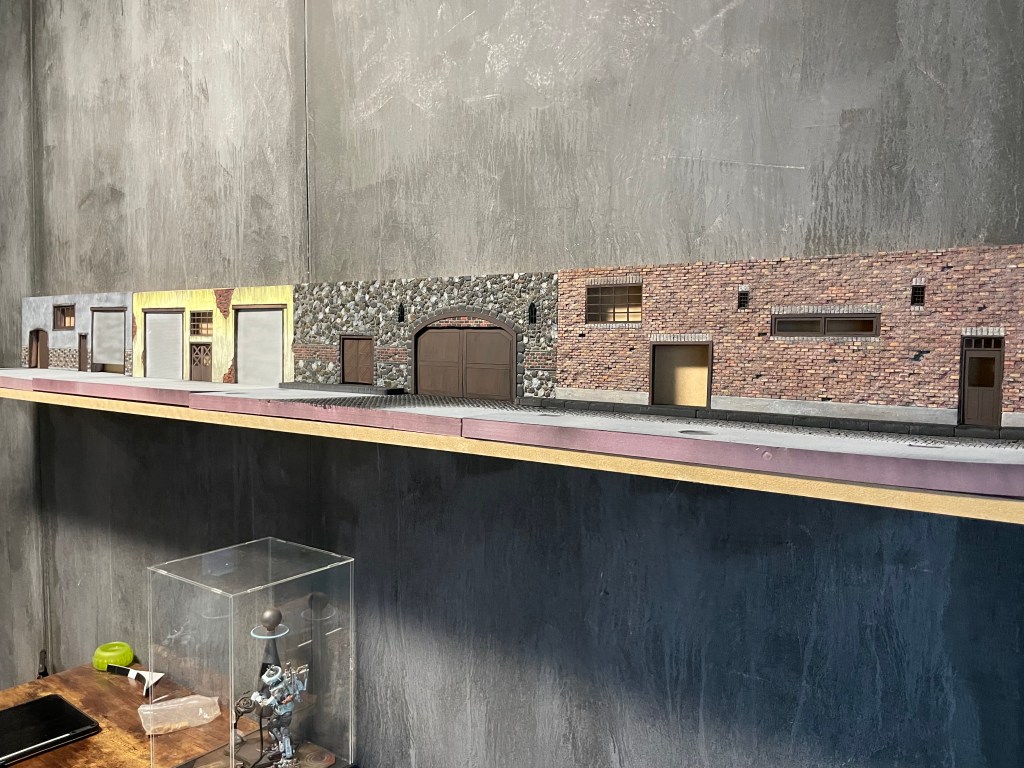
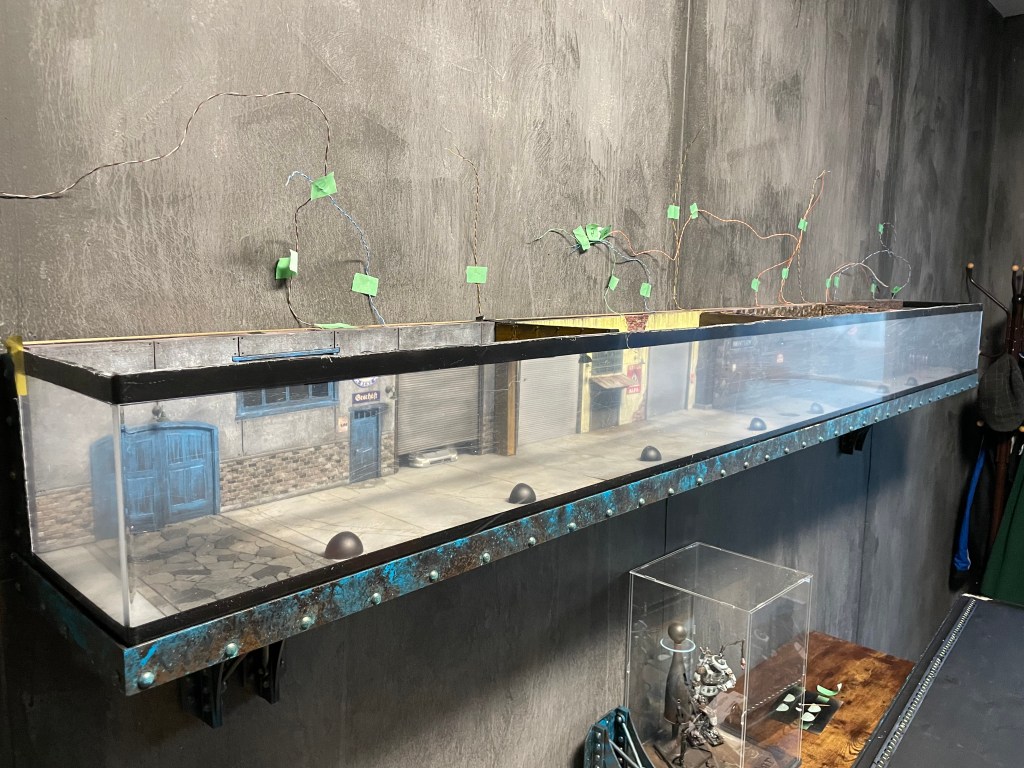
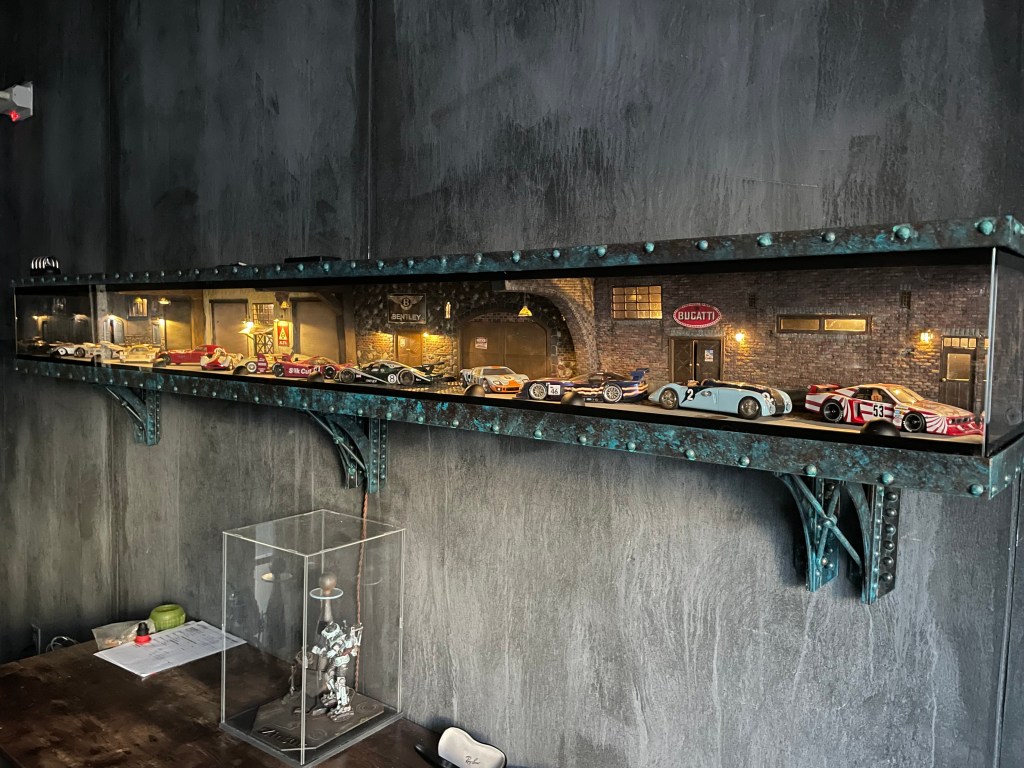
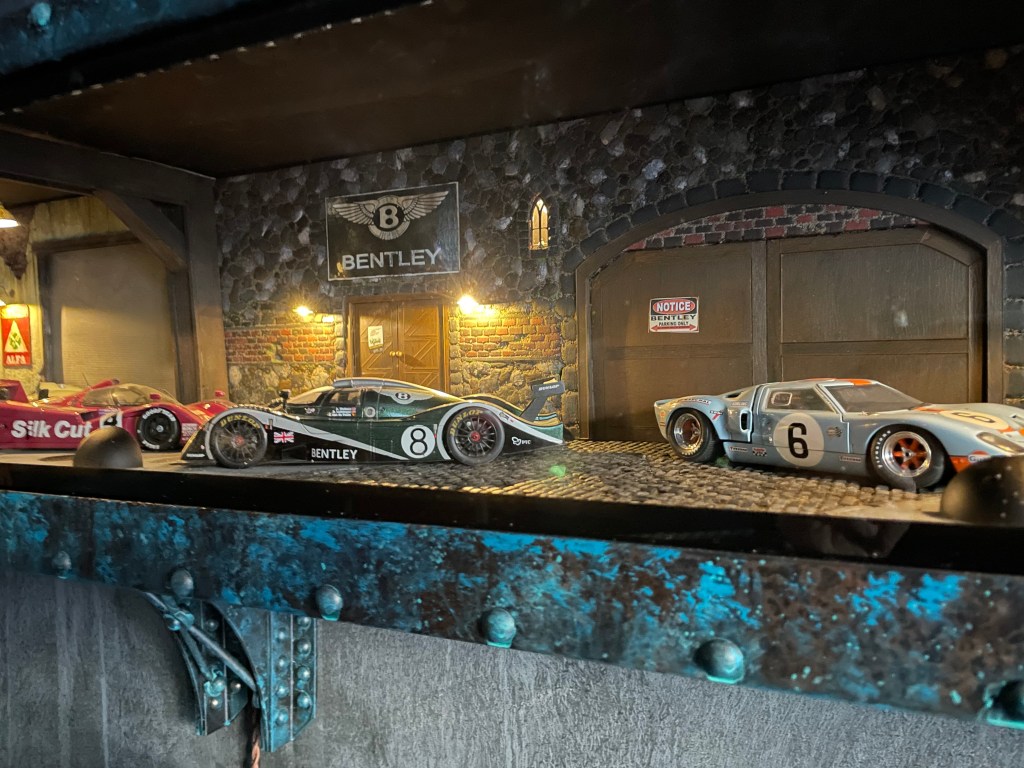
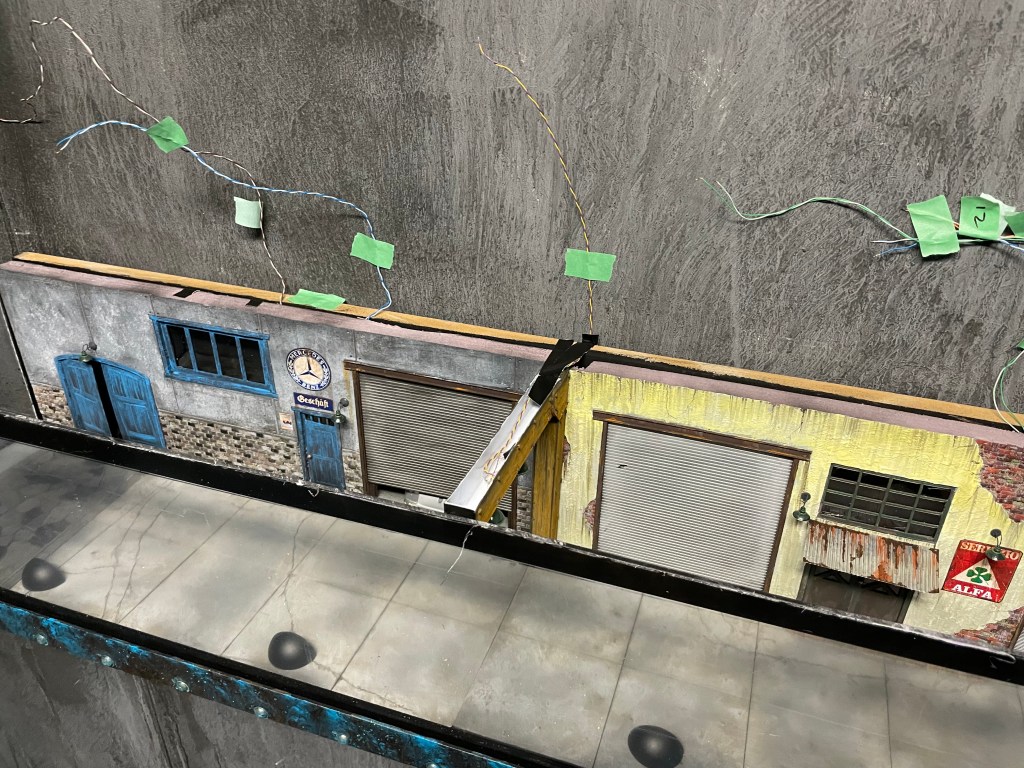
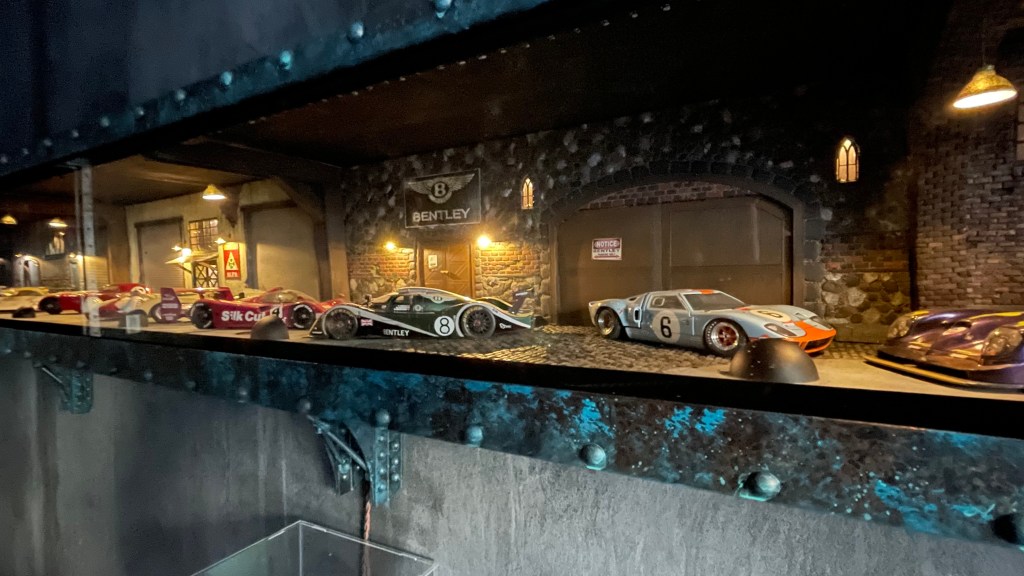
So my theme for this entire diorama is “Race Car Retirement” This is to be a place where all legendary race cars have gone to retire. Some in Germany, some in Italy, England and France. All the great European manufacturer’s homes. Since the display is 8ft long and the panels were 2’ wide it seemed natural to have 4 scenes within the overall scene, one depicting each country, each having a taste of their respective architecture, all also aged old buildings with a lot of character. Like me, lol 😂
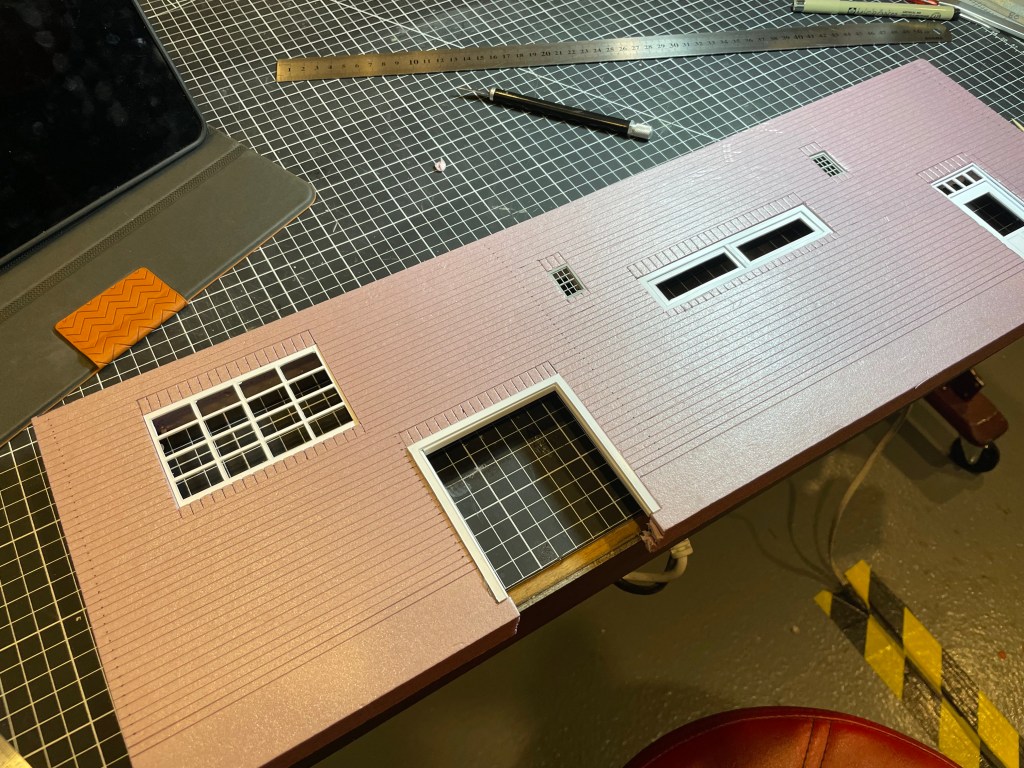
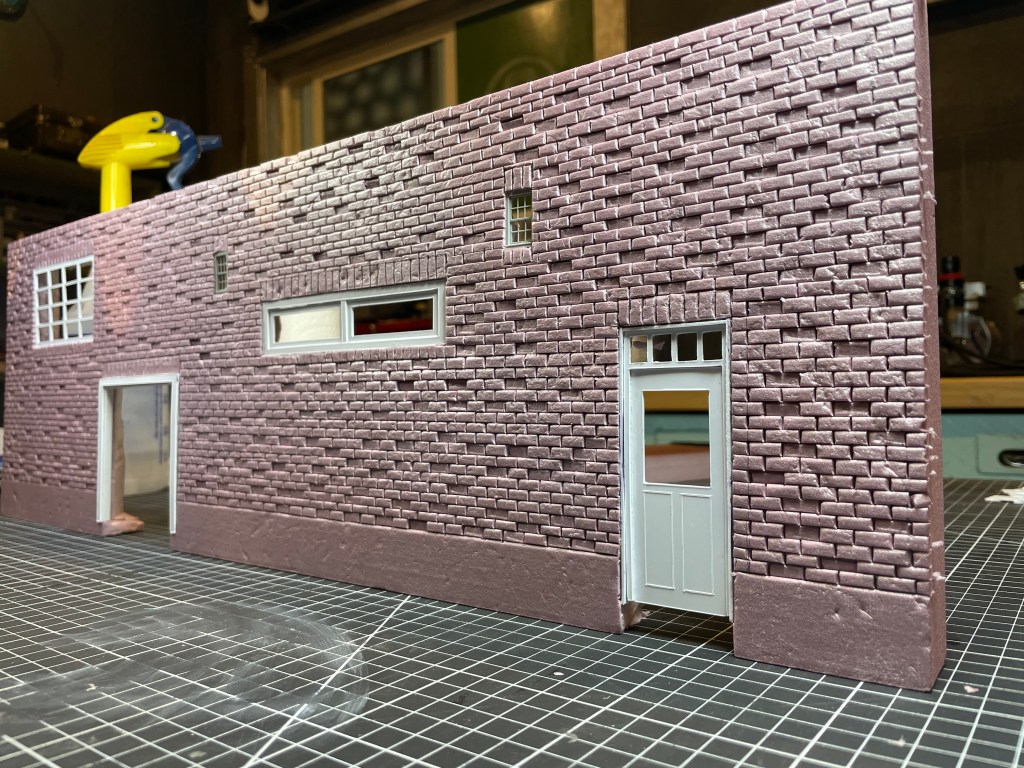
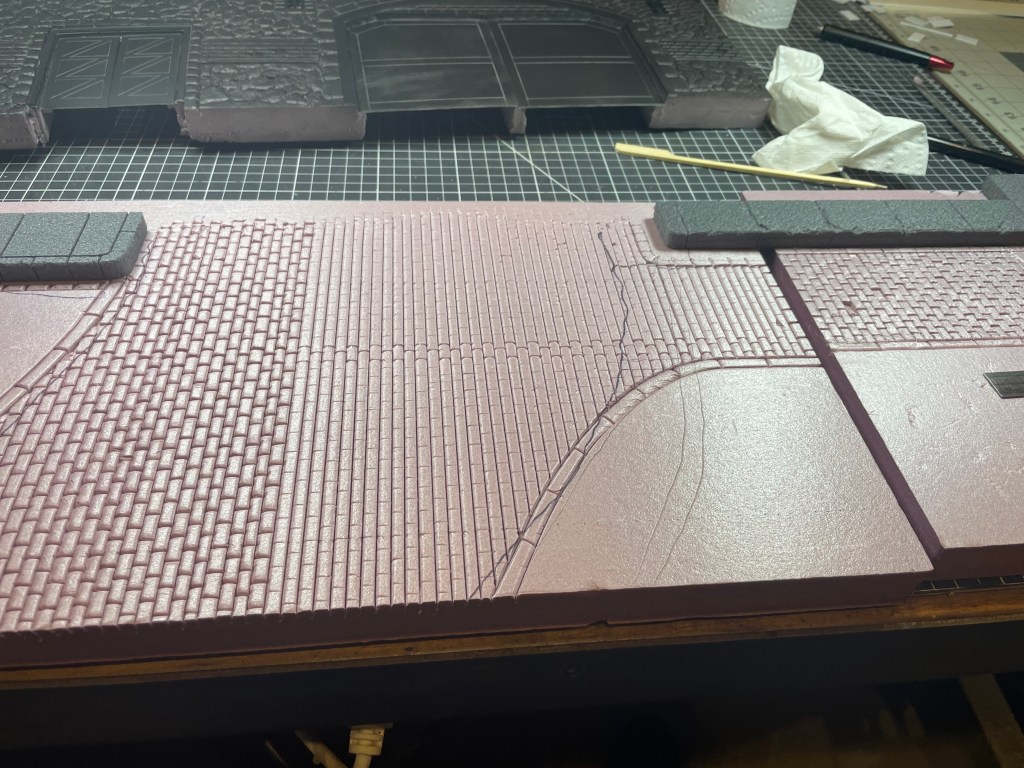
There are many ways to add detail to these panels and the one that I wanted to try is simply rough sketching them out and carving them in with the good old #11 Facto blade, then using a tooth pick you run over the edges to give them a little definition.
Oi….What have I done…?
60+ hours later I had some convincing panels.
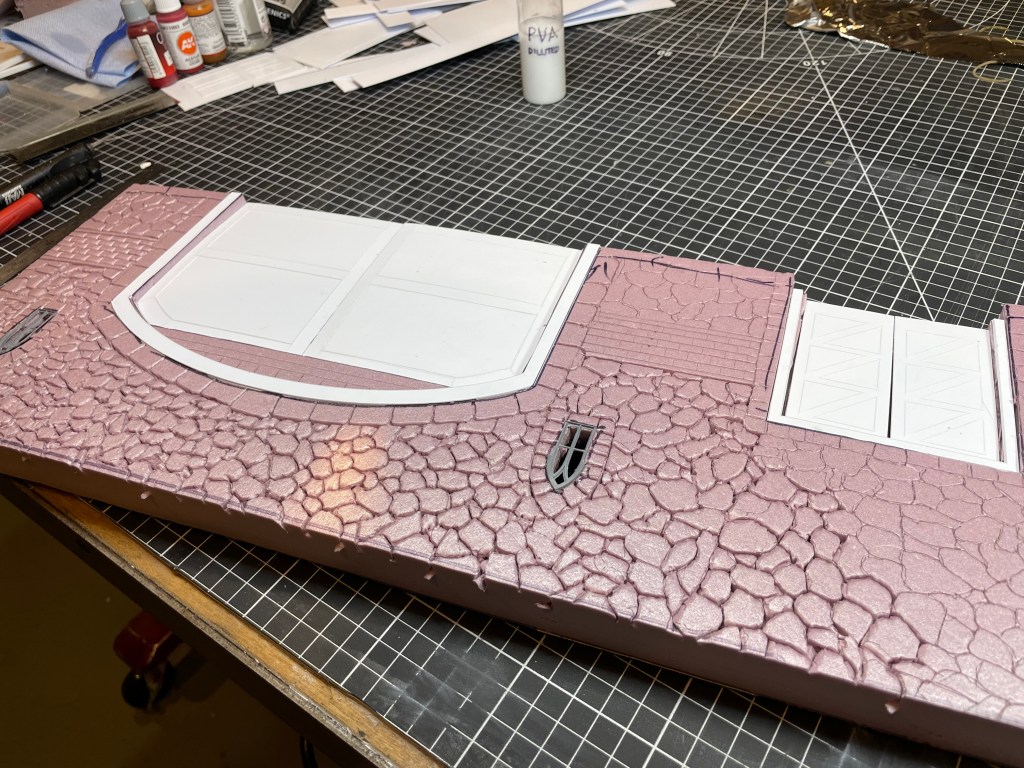
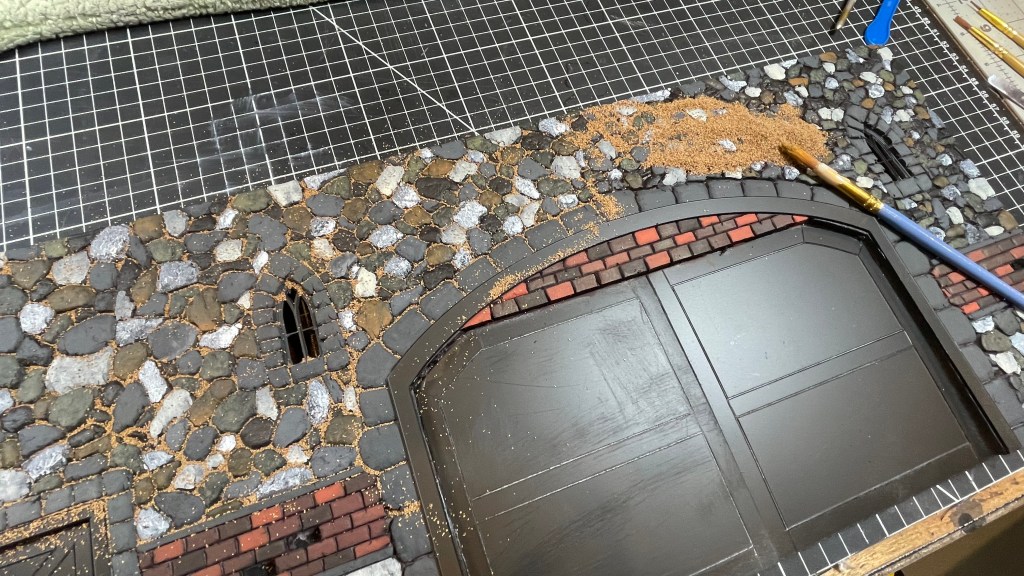
The cobblestone was fun as well!
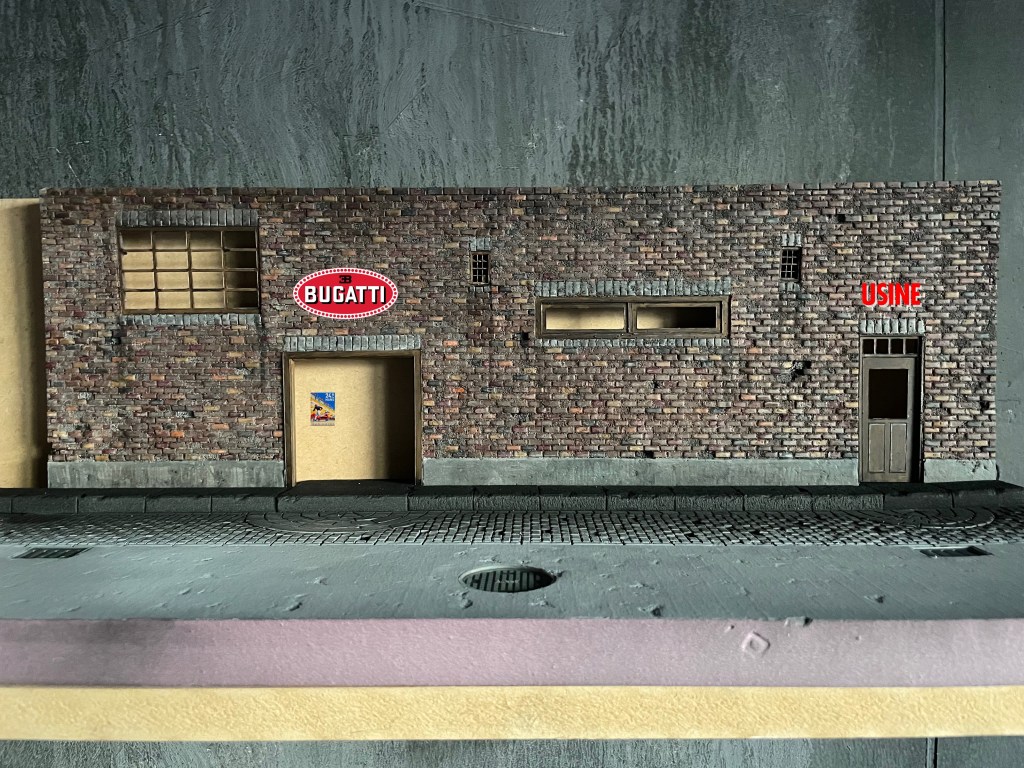
Let the painting begin!
Equally tedious was painting every brick and stone individually but the end result looks pretty realistic. I grouted everything and even added some moss in all the right places.
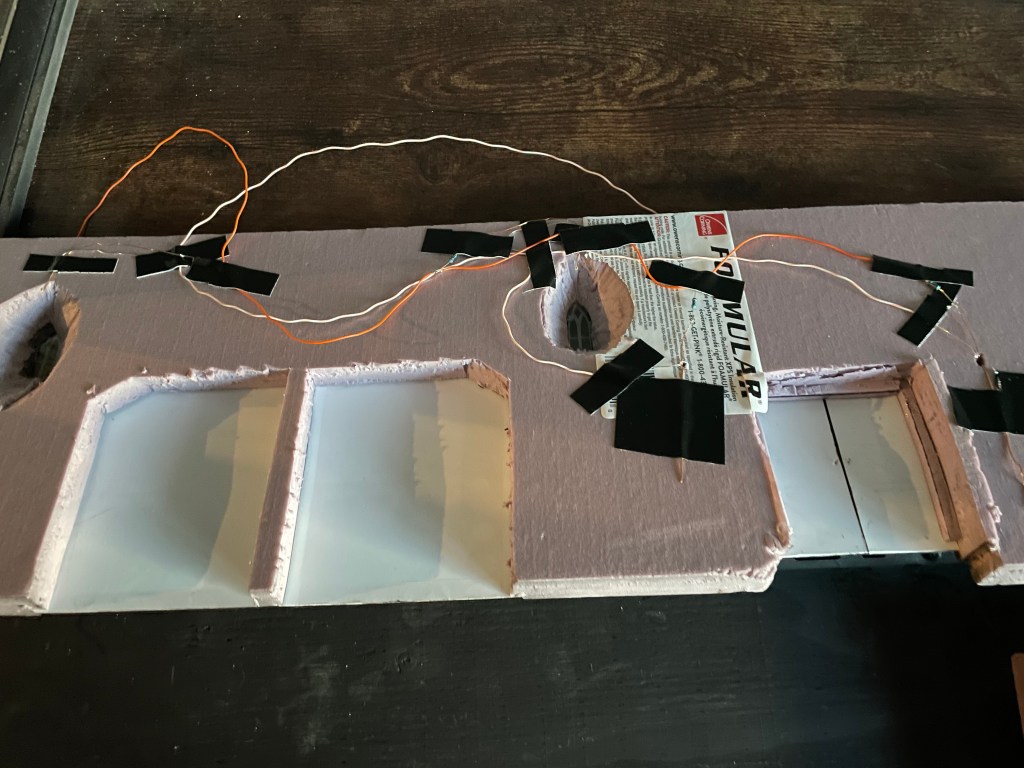
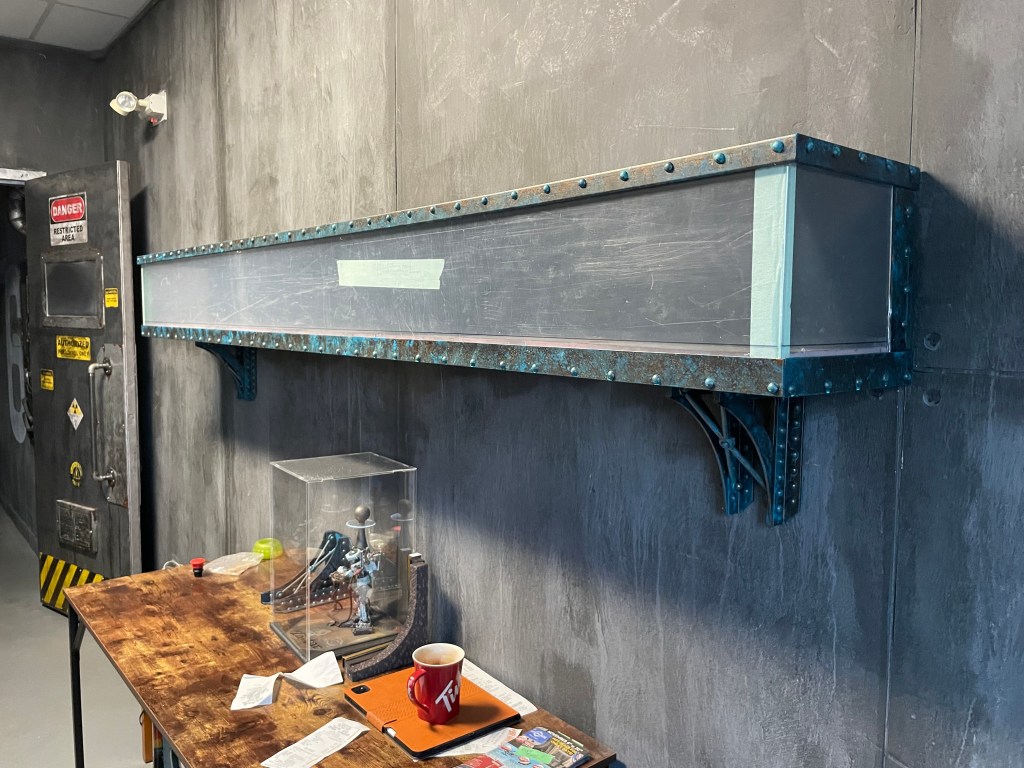
While the panels were drying I needed to get back to the shelf itself. Strips of Sintra sign scraps ( have access to a lot of great scraps thankfully, thanks @m2graphix !) Adding upholstery tacks to look lie rivets it was time to paint this thing! I wanted to try a different finish on this from anything else I had done in my shop so let’s try a copper patina. Oh, and the heavy industrial brackets you see are actually 3D printed by me. I LOVE the look of those..
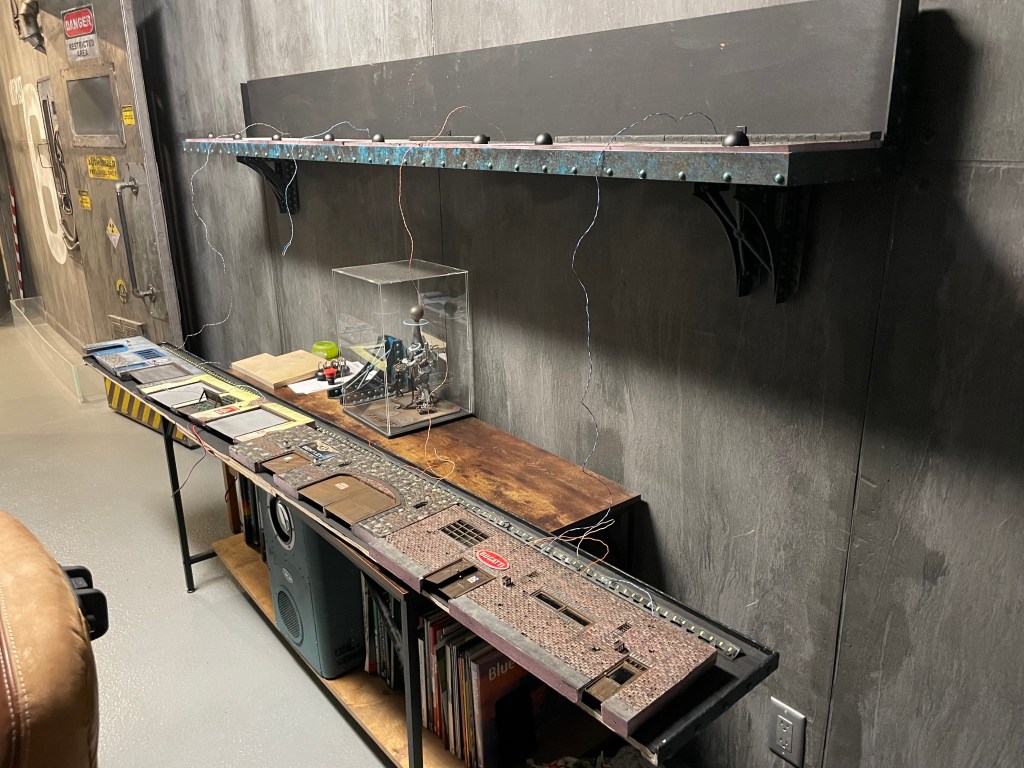
Speaking of 3D printing, I didn’t take any pics but the light fixtures as all printed as well, in various sizes. I didn’t take any pics of those, oops. OK, onto the wiring. I added micro LEDs to those light fixtures and also added “stage foot lights” ads I wanted to have lots of shadows cast to add to the ambiance. I also added a strip light all along the lid to create a “daylight mode” which is cool, but not nearly as cool as the night lights… There you have it! All in I’d say 120-ish hours to create the diorama!
